Are EasySSO Server Licenses Still Available to Purchase?
EasySSO Configuration
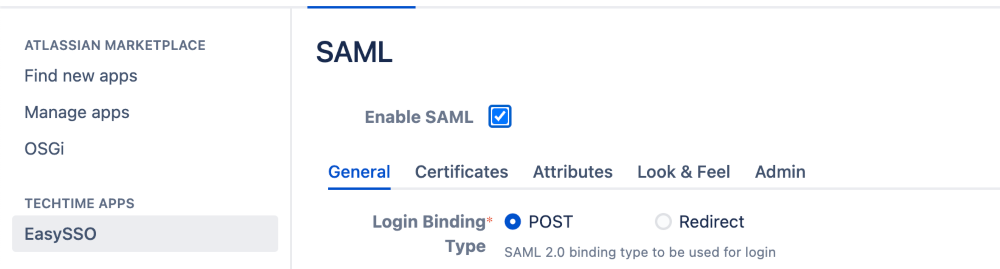
- Open EasySSO and select SAML
- On the SAML configuration screen make sure Enable SAML is ticked
- Click the Certificates tab
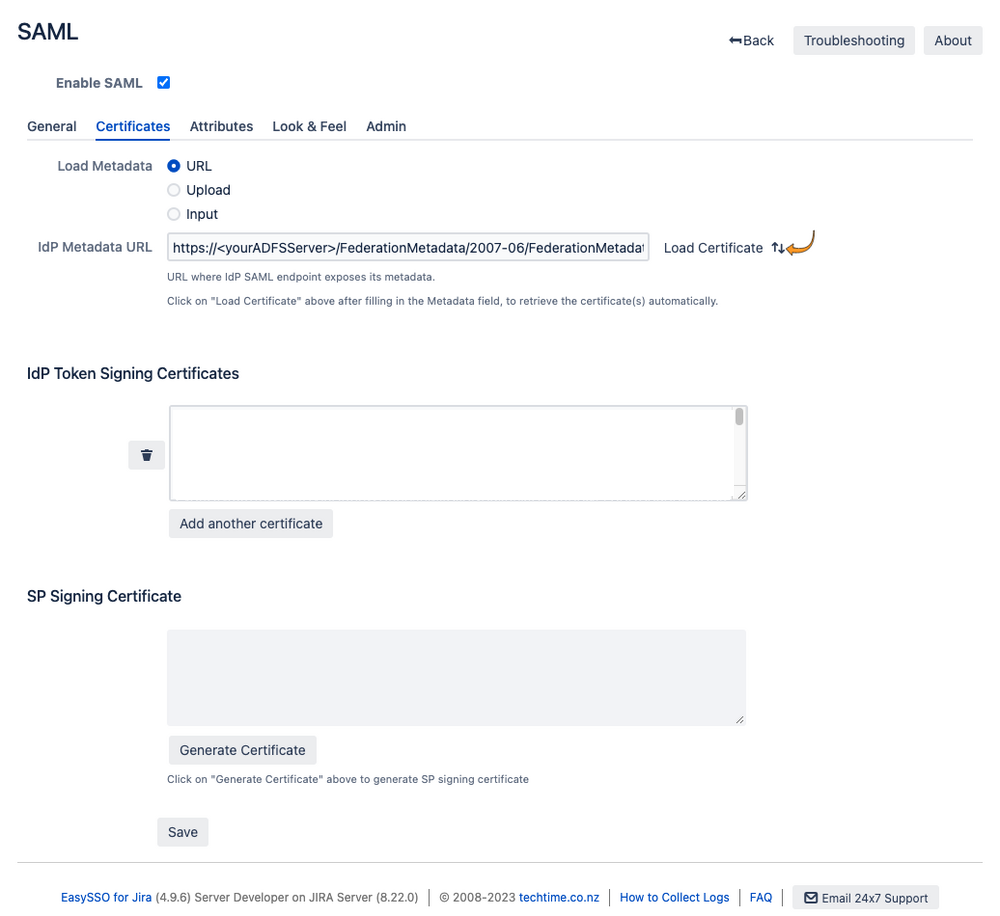
- Add the IdP Metadata URL for the ADFS server (the standard is to have the url ending with federationmetadata/2007-06/federationmetadata.xml )
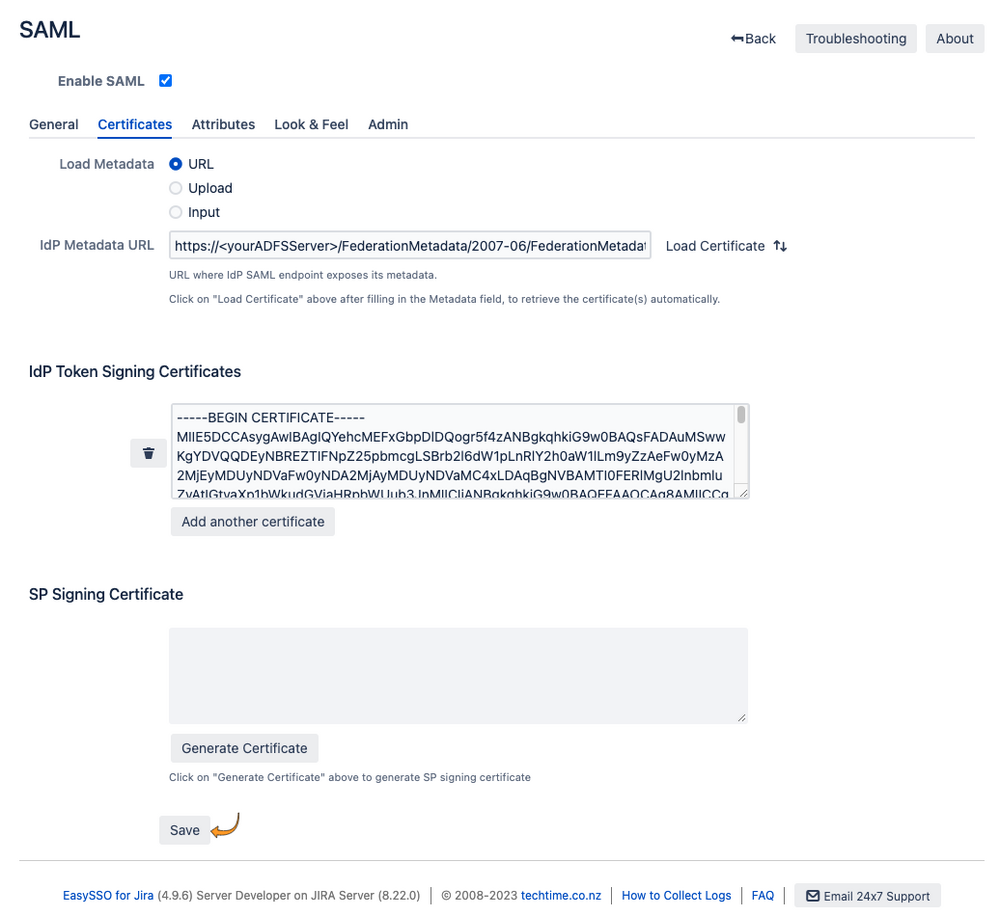
- Click Load Certificate
- On the Certificates page:

- Generate the SP Signing certificate
- Click "Save":
- On the General page:
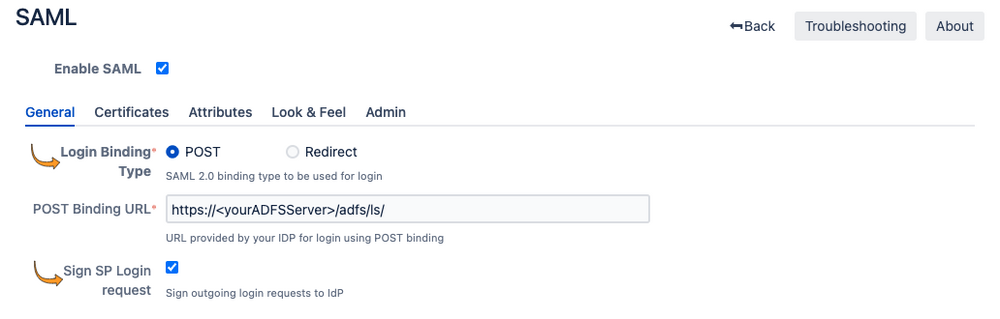
- Set the Login Binding Type to "POST"
- Set the POST Binding URL to the ADFS endpoint https://<yourADFSServer>/adfs/ls/
- Make sure Sign SP Login Request is ticked
- On the General page:
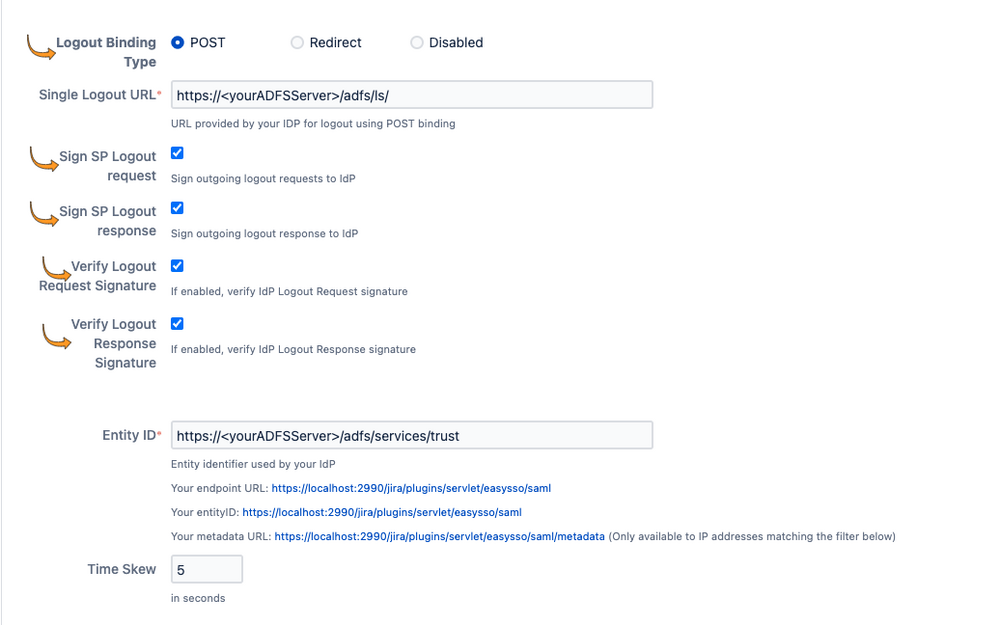
- Set Logout Binding Type to "POST"
Enable Sign SP Logout request
Enable Sign SP Logout response
Enable Verify Logout Request Signature
Enable Verify Logout Response Signature
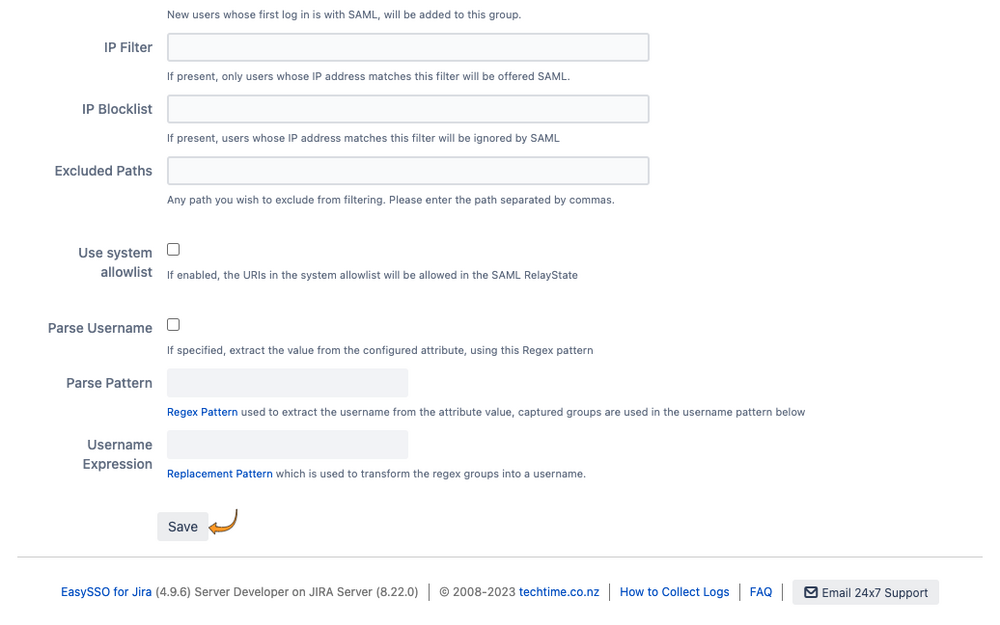
- On the General page:
- Configure settings for "New Users", first time login from SAML provider
- Configure settings for "Existing Users" which have previously logged in
- Configure default groups to ensure that logged in users are provisioned with the correct groups and permissions
- Save settings
Export metadata.xml
- On the General page:
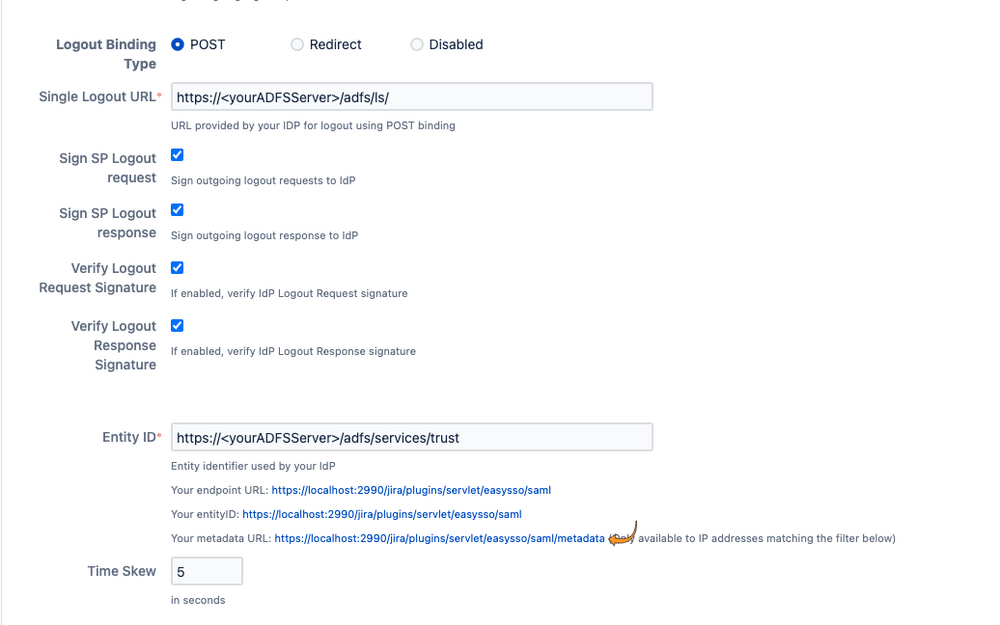
- Save the metadata.xml file to use later. The URL can also be used directly if your network is configured to allow it
Active Directory Federations Services
Inside Active Directory Federation Services
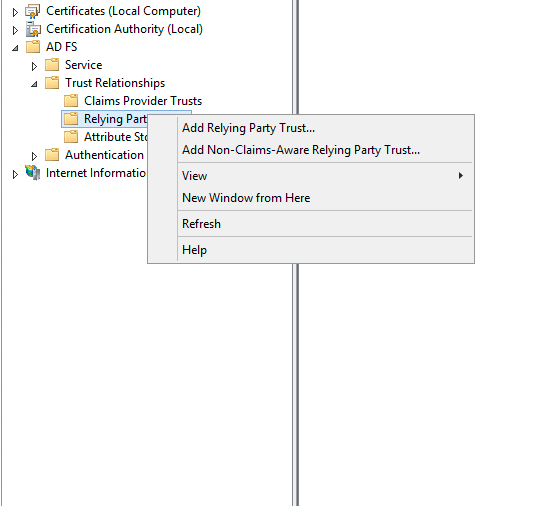
Create the Relying Party Trust
- Right click on Relying Party Trusts,
- Click Add Relying Party Trust...
- On the trust party wizard Welcome page, click Start

- On the Select Data Source page
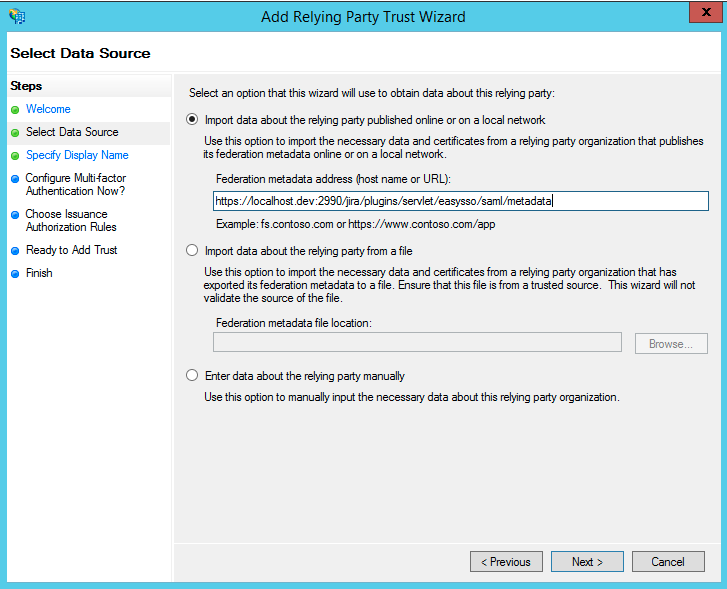
- Import the previously created metadata.xml file ("Import data about the relying party from a file"), or Import from URL if you have the URL of the metadata endpoint
- Click Next
- On the Specify Display Name page
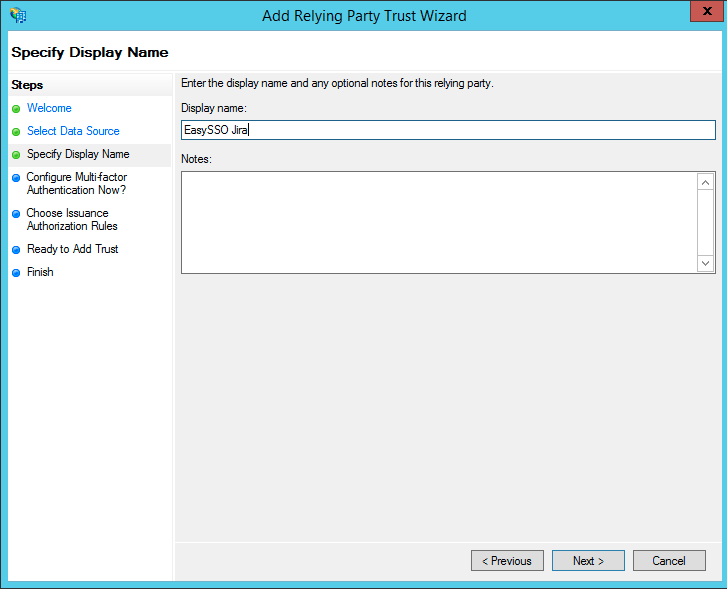
- Set Display Name for example "EasySSO for Jira"
- Click Next
- On the Configure Multi-factor Authentication Now? page
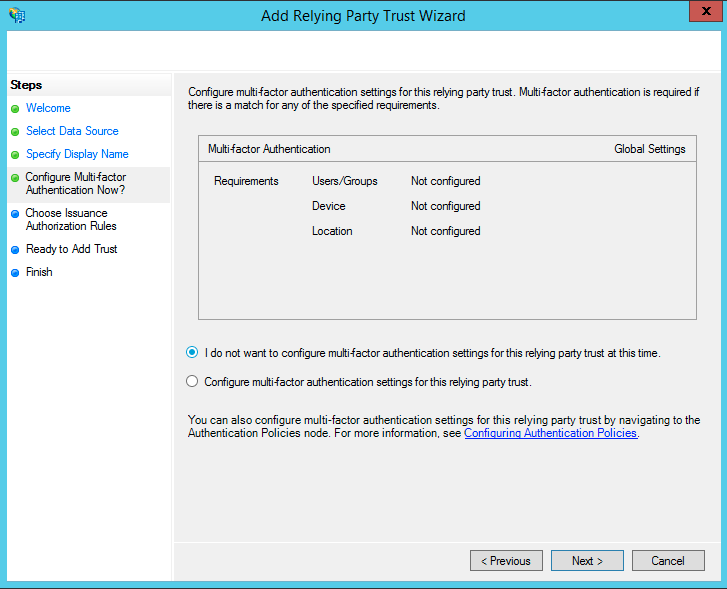
- Make sure 'I do not want to configure multi-factor authentication settings for this relying party trust at this time' is selected
- Click Next
- On the Access Control Policy page
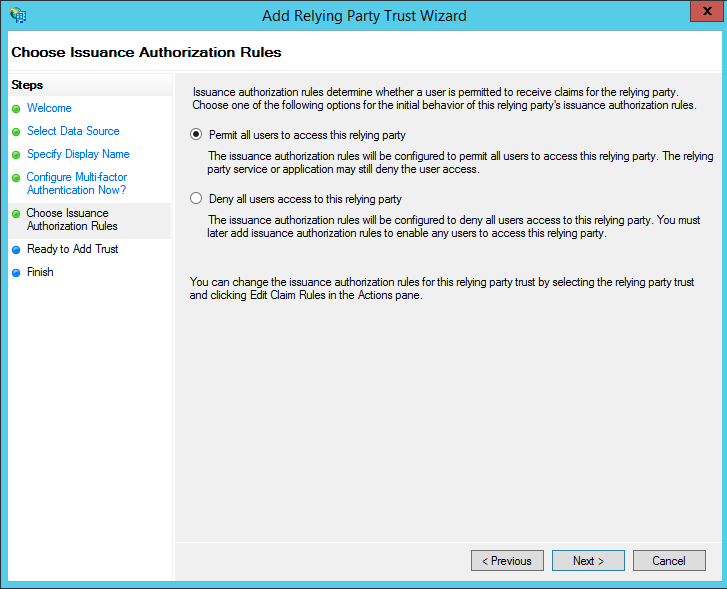
- Make sure 'Permit all users to access this relying party' is selected
- Click next
- On the Ready to Add Trust step
- Click next
- On the Finish step
- Make sure Open the Edit Claim Rules dialog for this relying party trust when the wizard closes is unticked
- Click Close
- Right click the Relying Party Trust just created
- Select Properties
- On Advanced tab
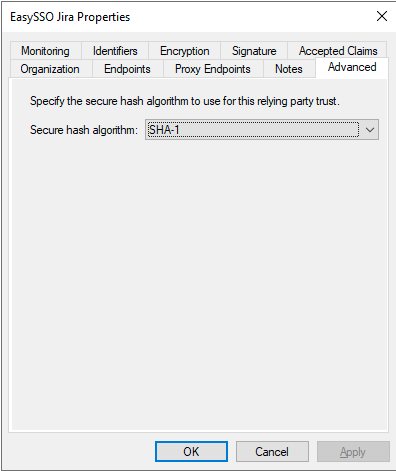
- Set Secure hash algorithm to SHA-1
Create the Claim Issuance Policy
- Right click the Relying Party Trust just created
- Click Edit Claim Issuance Policy
- On the Edit Claim Rules window
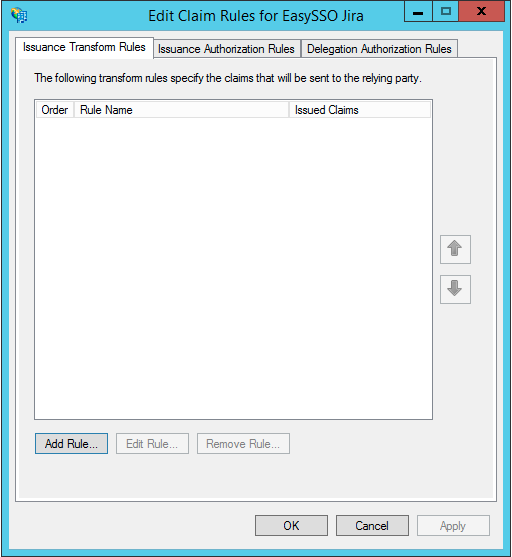
- Click Add Rule
- On the Choose Rule Type step
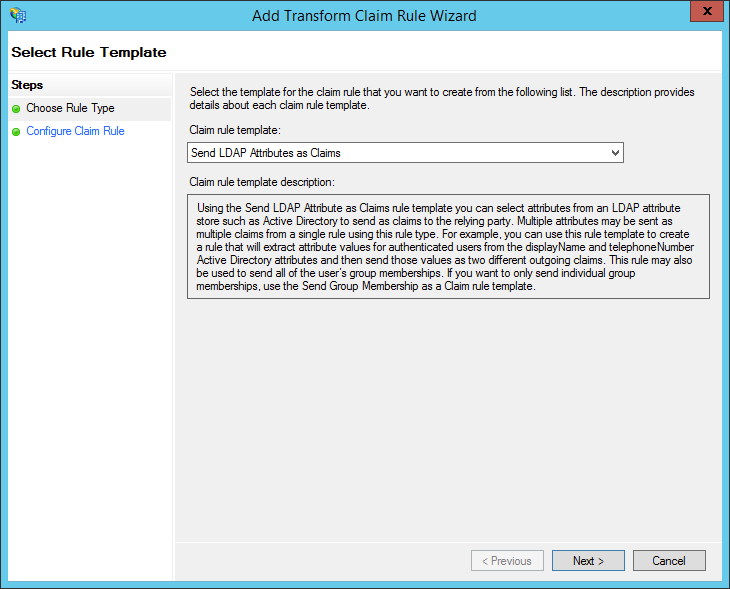
- Select Send LDAP Attributes as Claims
- Click Next
- On Configure Claim Rule step
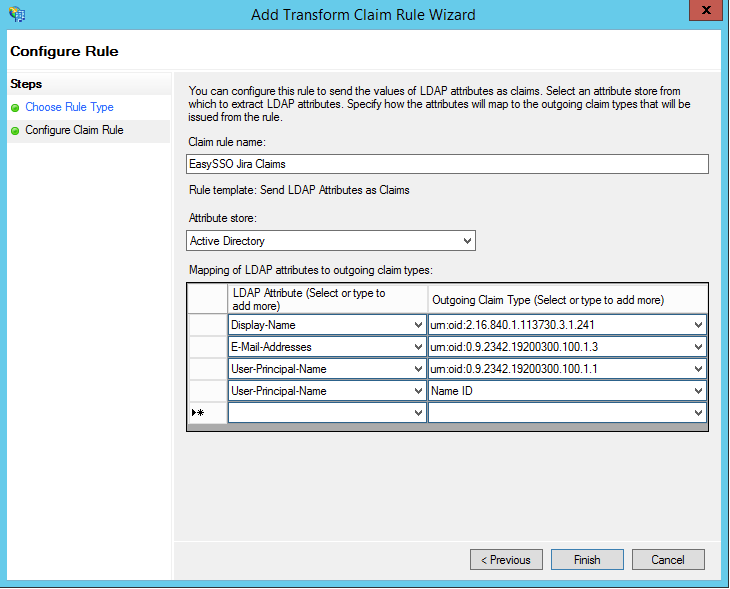
- Set Claim Rule Name to 'EasySSO <Platform> Claims'
- Set Attribute Store to Active Directory
- Set Mapping of LDAP attributes to outgoing claim types
- Display Name → urn:oid:2.16.840.1.113730.3.1.241
- Email Addresses → urn:oid:0.9.2342.19200300.100.1.3
- UPN → urn:oid:0.9.2342.19200300.100.1.1
- UPN → Name Id
- Click Finish
Add session information transformation
- On the Edit Claim Rules window
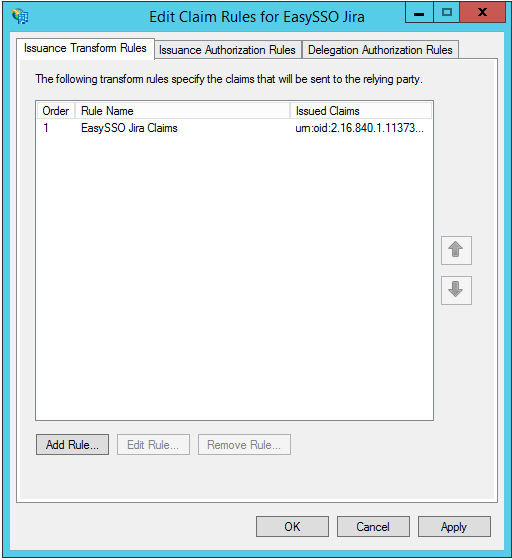
- Click Add rule
- On the Choose Rule Type step
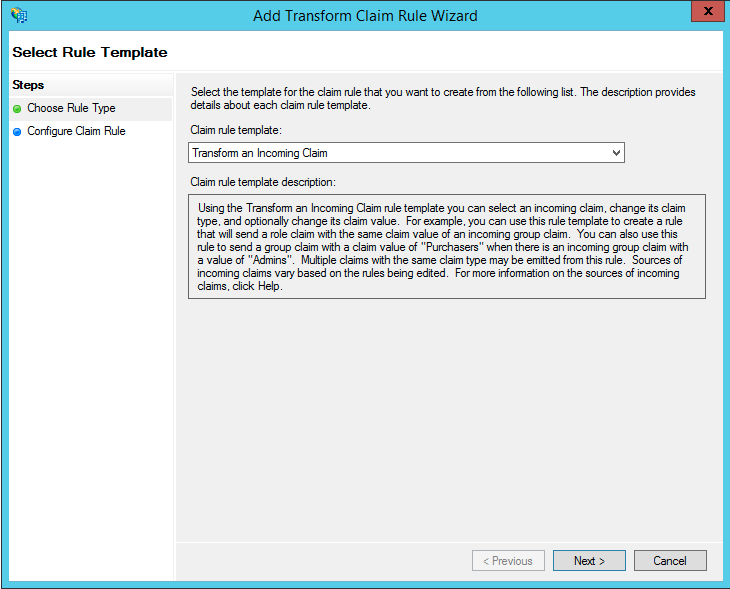
- Set Claim rule template to "Transform an Incoming Claim"
- Click Next
- On Configure Claim Rule step
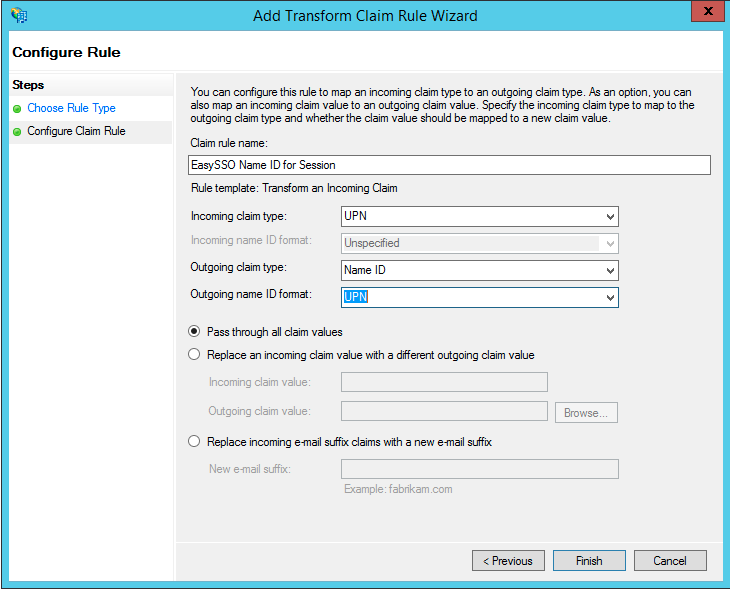
- Set Claim Rule Name "EasySSO Session information"
- Set attributes for claim types, and pass through all values
- Set Incoming claim type to UPN
- Set Outgoing claim type to Name ID
- Set Outgoing name ID format to UPN
- Click Finish
You've completed the configuration of EasySSO SAML with Active Directory Federation Services (ADFS)!
For more customisation options, check out EasySSO with SAML - Configuration.
Configuring Users
For users to successfully log in, they must also have permission to access the application. See EasySSO SAML JIT User Provisioning for more details.